Easy Map Magnets

I am a Geographer. Yes, it is true. I actually have a BS degree in geography and I love everything about it. These little map magnets are simple and inexpensive and totally me. This tutorial is like many I've seen on the internet, except for the fact that instead of cute scrap paper or images, we use old maps. This results in a fun magnet that can be a reminder of a place that is special to you, or somewhere that you visited. In my husband's teaching days, he did this as an art project with his 5th graders and it was a hit. It also served double duty as a bit of an experience in geography.
For this project you will need the following:

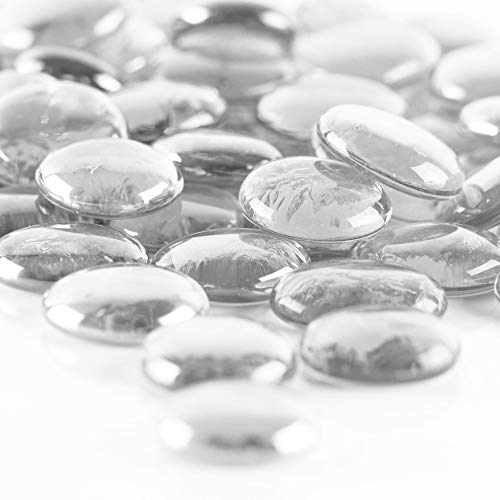
1. Clear Glass gems - I got mine in a package in the floral section at Dollar Tree. You will need to get the larger ones that measure about 1 1/4" across.
2. Old maps or an atlas that you are willing to cut up.
3. Pencil
4. Scissors
5. Mod Podge
6. Small Paint Brush
7. Nail file
8. Glue
9. Strong Magnets (Magnet tape will not work on these. They are too heavy.)

Set the gem over the map in the place that you would like to have showing on the magnet and trace around it.

Cut out the circle. As you can see, it does not need to be perfect.

Brush the back (flat side) of the glass gem with mod podge.

Adhere the piece of the map to the gem, making sure that the side you want showing is face down. Press the paper firmly on the gem and smooth out any air bubbles. Make sure all the edges are also glued down well. Then wipe off any mod podge that might have been pushed out from under the map piece and gotten on the front of the glass. Let it dry for several minutes.

Use the nail file to lightly sand down the edges. This will give it a more finished look. Don't file too heavily or the edges will start to look ragged. Then brush on a coat of mod podge to seal the paper and let dry for a few minutes.

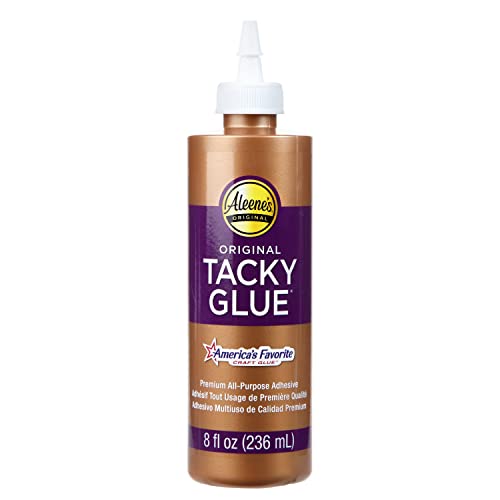
Put a drop of glue in the middle. I have tried lots of different glues and found that tacky glue usually works best for me.

Put the
magnet on the bead of glue and make sure that it is where you would like it to
be. Press firmly. Let the magnet dry for several hours in this
position.

For your convenience, I am adding affliliate links below to products that are the same as, or similar to the ones I used for this project.
**You can also see this post for a similar project using book pages instead of maps.**
*Affiliate Links